Cold sores are tough to manage, but I’ve found comfort through 3 DIY remedies for cold sores that really make a difference. Each is easy to follow, safe, and repeatable, with exact routines, hygiene rules, aftercare, and warning signs—keeping recovery steady and stress-free.
- Cold Sore Basics and Why DIY Helps Comfort, Not “Cures”
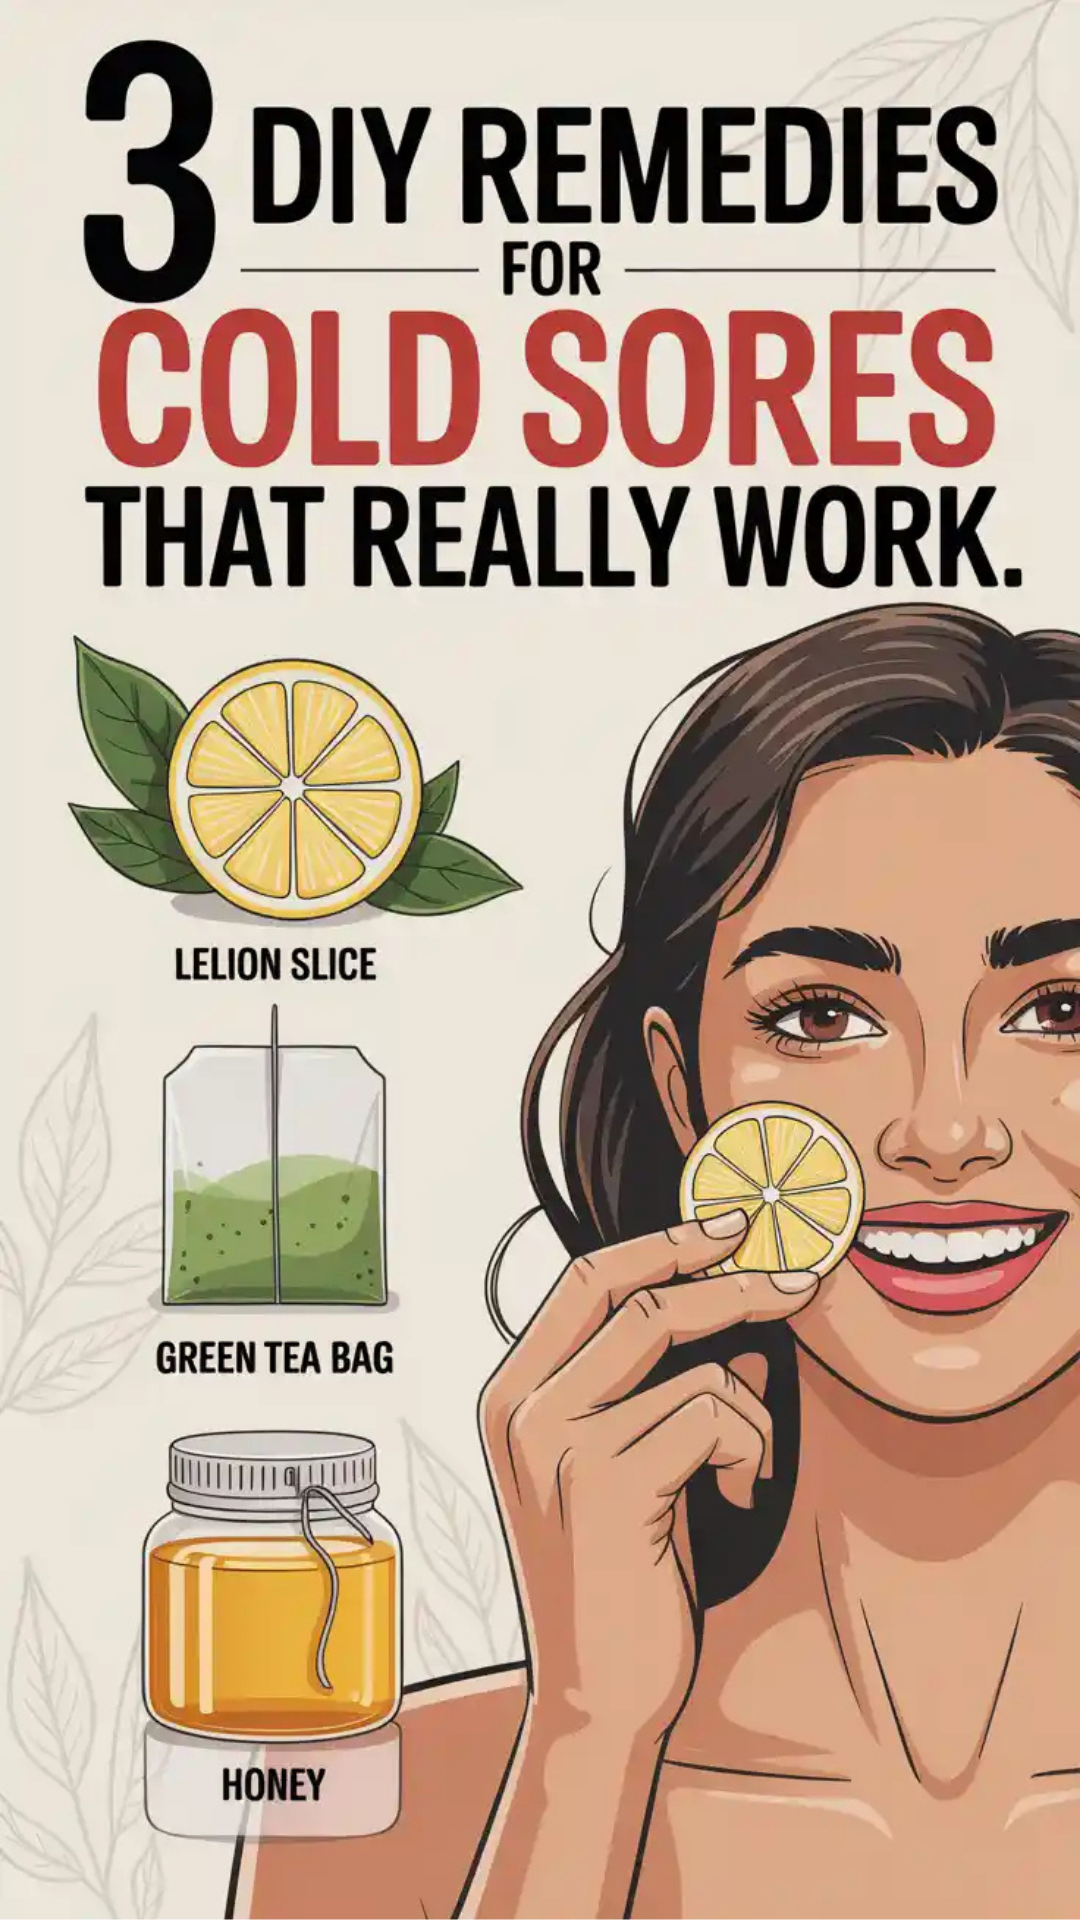
- Remedy 1: Cold Compress Cycles to Calm Pain and Puffiness
- Remedy 2: Short-Contact Honey + Moisture Barrier (Hands-Off Routine)
- Remedy 3: Lemon Balm (Melissa) Tea Compress Done Safely
- Clean Hands, No-Spread Hygiene, and Nighttime Setup
- Morning-After Care, Coverage Tips, SPF, and What to Skip
- Triggers, Prevention, and When to Call a Clinician
Cold Sore Basics and Why DIY Helps Comfort, Not “Cures”
What a cold sore actually is
Cold sores are small blisters caused by a herpes simplex virus flare, most often HSV-1. They usually appear on or around the lips, starting with tingling, tightness, or heat before a visible blister. They pass through stages—tingle, blister, weep, crust, and heal—typically over 7–10 days.
What DIY can do (and can’t)
DIY steps can reduce pain, swelling, friction, cracking, and secondary irritation. They can help the area look and feel calmer and may help you avoid picking or rubbing, which slows healing. DIY steps do not “kill” the virus or replace antiviral prescriptions from a clinician.
Why timing matters
The earlier you start soothing care—especially at the tingle stage—the better the area behaves. Starting gentle routines early helps you avoid aggressive, stingy products that backfire later.
My safety ground rules
I work with clean hands, keep products out of the mouth and eyes, patch-test new ingredients, and avoid harsh, perfumed, or “tingly” formulas. If pain escalates, lesions spread, or I feel unwell, I stop DIY and get medical advice.
Remedy 1: Cold Compress Cycles to Calm Pain and Puffiness
Why this works
Brief cooling narrows local blood flow and numbs the sting. It tamps down swelling around the lesion, so the edges look less raised and feel less tight. Cold also discourages rubbing, because the area is more comfortable.
What you’ll need
A few ice cubes or a reusable gel pack, a thin clean cloth, a soft mirror-friendly light, tissues or cotton pads, and a bland, fragrance-free ointment or jelly for later.
Exact steps I follow
- Wash hands thoroughly and dry them.
- Wrap ice in a thin cloth. Never place bare ice directly on skin.
- Rest on the lesion for 60 seconds, lift for 60 seconds.
- Repeat two to four cycles until the area feels calmer.
- Gently blot any moisture with a clean pad—no rubbing.
- If the surface feels tight or cracking, apply a whisper-thin layer of bland ointment at the edges (not inside the mouth).
How often I repeat
I repeat cooling cycles several times a day during the tingle and early blister stages, especially before meals or speaking engagements when movement can irritate the area.
Mistakes this avoids
No scraping, no “popping,” no toothpaste, no alcohol swabs. Cool, clean, and gentle beats anything that stings. The goal is to protect the surface—cracked scabs prolong the whole journey.
Who should skip or modify
If you have numbness disorders or cold sensitivity, use shorter cycles and milder coolness. If the skin blanches or feels painful from cold, stop and let the area warm naturally before trying again.
Remedy 2: Short-Contact Honey + Moisture Barrier (Hands-Off Routine)
Why I use this
A thin, short-contact layer of plain raw honey soothes and holds water at the surface. Following with a light barrier keeps the crust supple so it doesn’t split. This reduces pain, visible cracks, and picking. It’s a comfort routine—not a cure—and it pairs well with hands-off patches or dressings outside the mouth area.
Safety notes first
If you’re allergic to bee products, skip honey. Keep honey away from open mouth wounds and avoid swallowing it during application. Do not use honey on infants’ skin near the mouth. If irritation or itch appears after a test spot, discontinue and use the lemon balm or cooling routines instead.
What you’ll need
Plain raw honey, cotton swabs, tissues, a mirror, mild cleanser, lukewarm water, and a bland, fragrance-free ointment or jelly for sealing the perimeter (not for use inside the mouth).
Short-contact steps
- Wash hands; cleanse the area gently with lukewarm water and pat dry.
- With a clean swab, apply a rice-grain smear of honey to the lesion surface only.
- Leave for 5–7 minutes; avoid talking so it sits still.
- Gently blot any excess with a tissue—leave only a micro-film.
- Press a thin ring of bland ointment along the outer edges so the crust stays flexible.
- Keep hands away; avoid licking, rubbing, or covering with colored cosmetics while tacky.
- Repeat up to twice daily during active days if comfortable.
Why short contact matters
Long, sticky contact can attract dust and clothing fibers. Short contact delivers comfort without mess, then the micro-film plus light barrier keeps the surface moist enough to resist cracking.
Variant for very sensitive skin
Use cooled aloe-gel (plain, alcohol-free) for 3–5 minutes instead of honey, then the same thin barrier ring. If even aloe tingles, rely on remedy 1 plus the lemon balm compress from remedy 3.
What I never do with honey
I don’t slather it thickly, don’t sleep in a sticky layer, and don’t put it inside the mouth. I keep it precise and brief.
Remedy 3: Lemon Balm (Melissa) Tea Compress Done Safely
Why lemon balm
Lemon balm (Melissa officinalis) is a mint-family herb commonly used in lip balms and creams for cold-sore comfort. A cooled tea compress is a practical DIY version that many find soothing at the tingle or early blister stage.
Allergy and sensitivity check
If you’re sensitive to mint-family plants, test on the inner arm first. If redness, itch, or heat appears, skip this remedy.
What you’ll need
Dried lemon balm tea bags or loose herb, clean cup, hot water, a small plate, and cotton pads.
Exact steps
- Steep one tea bag in ½ cup hot water for 10 minutes; let it cool to room temperature.
- Chill the tea for 10–15 minutes for extra comfort.
- Soak a cotton pad, squeeze gently until damp, not dripping.
- Press over the lesion for 2–3 minutes; lift; re-soak; repeat up to three cycles.
- Let air-dry 2 minutes, then seal the perimeter with a thin ring of bland ointment to keep edges flexible.
- Use up to twice daily while the area is active or tender.
Why this helps in practice
The cool compress calms heat and stinging. The brief, damp contact hydrates the surface so crusts don’t fissure when you speak or eat. Keeping sessions short avoids maceration (over-softening) that would delay healing.
What I skip with herbs
I avoid essential oils near the lips. Concentrated oils can irritate the thin skin around the mouth and increase redness. Tea-based compresses are gentler and easier to dose.
Clean Hands, No-Spread Hygiene, and Nighttime Setup
Hands-off is half the battle
Touching spreads virus and breaks fragile skin. I train myself to itch with a clean tissue if needed, then discard it and wash my hands.
No-spread rules I actually follow
- Use a dedicated small towel or tissue for the area; wash or discard after use.
- Don’t share lip balms, drinks, utensils, or towels while a sore is active.
- Replace or disinfect lip products that touched an active sore.
- Keep toothbrush heads fresh; swap after the sore resolves.
- Wash hands after any contact with the lesion, even if “quick.”
- Avoid kissing and oral sex during active stages; wait until the skin is fully healed.
Night setup that helps you sleep
- Cool the area with remedy 1 before bed to quiet sting.
- Use the honey-plus-barrier routine earlier in the evening so tackiness fades before sleep.
- Sleep on a clean pillowcase; keep the room slightly cool.
- If you drool at night, place a thin, clean cloth on the pillowcase and change it in the morning.
- Side sleepers: position the sore “up,” away from fabric friction.
Makeup and cover-up realities
While active and weepy, I skip colored makeup right on the lesion. Concealer over raw skin cakes and cracks. If I must camouflage for a brief event, I wait until the surface is dry, use the thinnest dab, and set just the edges—then cleanse gently the moment I get home.
Morning-After Care, Coverage Tips, SPF, and What to Skip
How I start the day
I do a quick lukewarm rinse, pat dry with a soft tissue, then assess: is the sore wet, dry, tight, or calm? I choose the routine that matches its stage rather than following habit.
If the sore is tight or cracking
I apply the lightest ring of ointment along the edge, not a heavy smear across the entire surface. I let it sit for a few minutes before talking a lot or eating.
If the sore is dry and scabby
I skip scrubbing, cleansers with fragrance, and gritty lip exfoliants. I may do a single lemon balm compress cycle, air-dry, and seal edges thinly so the scab flexes instead of splitting.
If I need to be on camera
- I cleanse gently and let everything dry.
- I dab a flexible, high-adhesion concealer around—not into—the central crust.
- I feather with a clean brush and set a whisper of powder only on the rim.
- I don’t aim for invisibility; I aim for “not distracting” and comfortable.
SPF is non-negotiable
Sunlight can trigger and darken marks. I use a gentle, fragrance-free SPF on the surrounding lip and skin, applied carefully so I don’t rub the lesion. A wide-brim hat or shade helps more than extra rubbing trying to reapply every hour.
What I deliberately skip
Toothpaste dabs, straight alcohol, peroxide bubbling, undiluted essential oils, peeling scabs, and hot compresses that over-soften. Each one seemed quick; each one cost me days of extra redness.
Triggers, Prevention, and When to Call a Clinician
Common triggers I track
Sun and wind exposure, chapped lips, illness, intense stress, menstrual cycles, and friction from instruments or sports gear at the mouth area. I keep a tiny note in my phone so I can prepare before predictable triggers.
My prevention basics
- Daily gentle lip care; avoid licking and over-exfoliation.
- Shade and SPF lip balm when outdoors or traveling.
- Stress tools I actually use: short walks, breath work, earlier lights-out.
- Hydration and humidified air in winter so lips don’t crack.
- Hands-off habits year-round to avoid micro-tears.
When DIY ends and medical care begins
- Very large or painful lesions, spreading or multiple sores, or sores lasting unusually long.
- Frequent recurrences affecting work, eating, or quality of life.
- Eye involvement, widespread rash, fever, or feeling unwell.
- Immune conditions, pregnancy, or other health questions that deserve tailored advice.
A clinician can discuss antivirals and strategies that pair well with these comfort routines.
A one-page plan you can copy tonight
- At the first tingle, do two rounds of remedy 1 (cooling).
- If comfortable, do remedy 2 in early evening: honey 5–7 minutes, blot, thin barrier ring.
- Before bed, repeat remedy 1 for comfort and sleep.
- Morning: rinse, assess, use remedy 3 compress if tight, then a thin edge-seal.
- All day: no sharing, tissues only for touches, SPF carefully around the area.
- Track triggers; plan shade, balm, and stress tools tomorrow.
- Escalate to medical care if pain spreads, duration is unusual, or you feel sick.
Frequently Asked Questions
Can these DIY remedies stop a cold sore from forming?
They help comfort and may reduce swelling if you start at the tingle stage, but they don’t replace antivirals. If outbreaks are frequent or severe, talk to a clinician about prescription options you can start early.
Is honey safe on the lips for everyone?
No. Skip honey if you’re allergic to bee products, and avoid using it near the mouths of infants. Keep application brief and precise on intact skin only; if it tingles or itches, stop and switch to cooling or lemon balm.
Can I use essential oils like tea tree or peppermint?
I don’t. Concentrated oils near the lips often irritate thin skin and increase redness. A cooled lemon balm tea compress is gentler and easier to dose.
How do I keep the scab from cracking when I talk?
Use short cooling cycles to reduce puffiness, then a very thin ring of bland ointment at the edges so the crust flexes. Avoid thick layers that smear and collect lint; aim for flexible, not glossy.
When should I stop DIY and call a doctor?
If sores are unusually large, very painful, spreading, recurring often, lasting longer than expected, or if you feel unwell—especially with eye symptoms—pause DIY and seek medical guidance promptly.